The General Settings page lets you control and set many different options for various behavior throughout ClearCheckbook.
Settings at the top right side of the page, then click on General Settings under the Manage Your: header.You can set whether you want the site to be displayed in Light, High Contrast or Dark mode. High Contrast makes the text darker and the background elements lighter, for better readability. Dark mode is easier on the eyes in low light situations. Dark mode is only available for ClearCheckbook Premium customers.
The options are Light (default), High Contrast or Dark
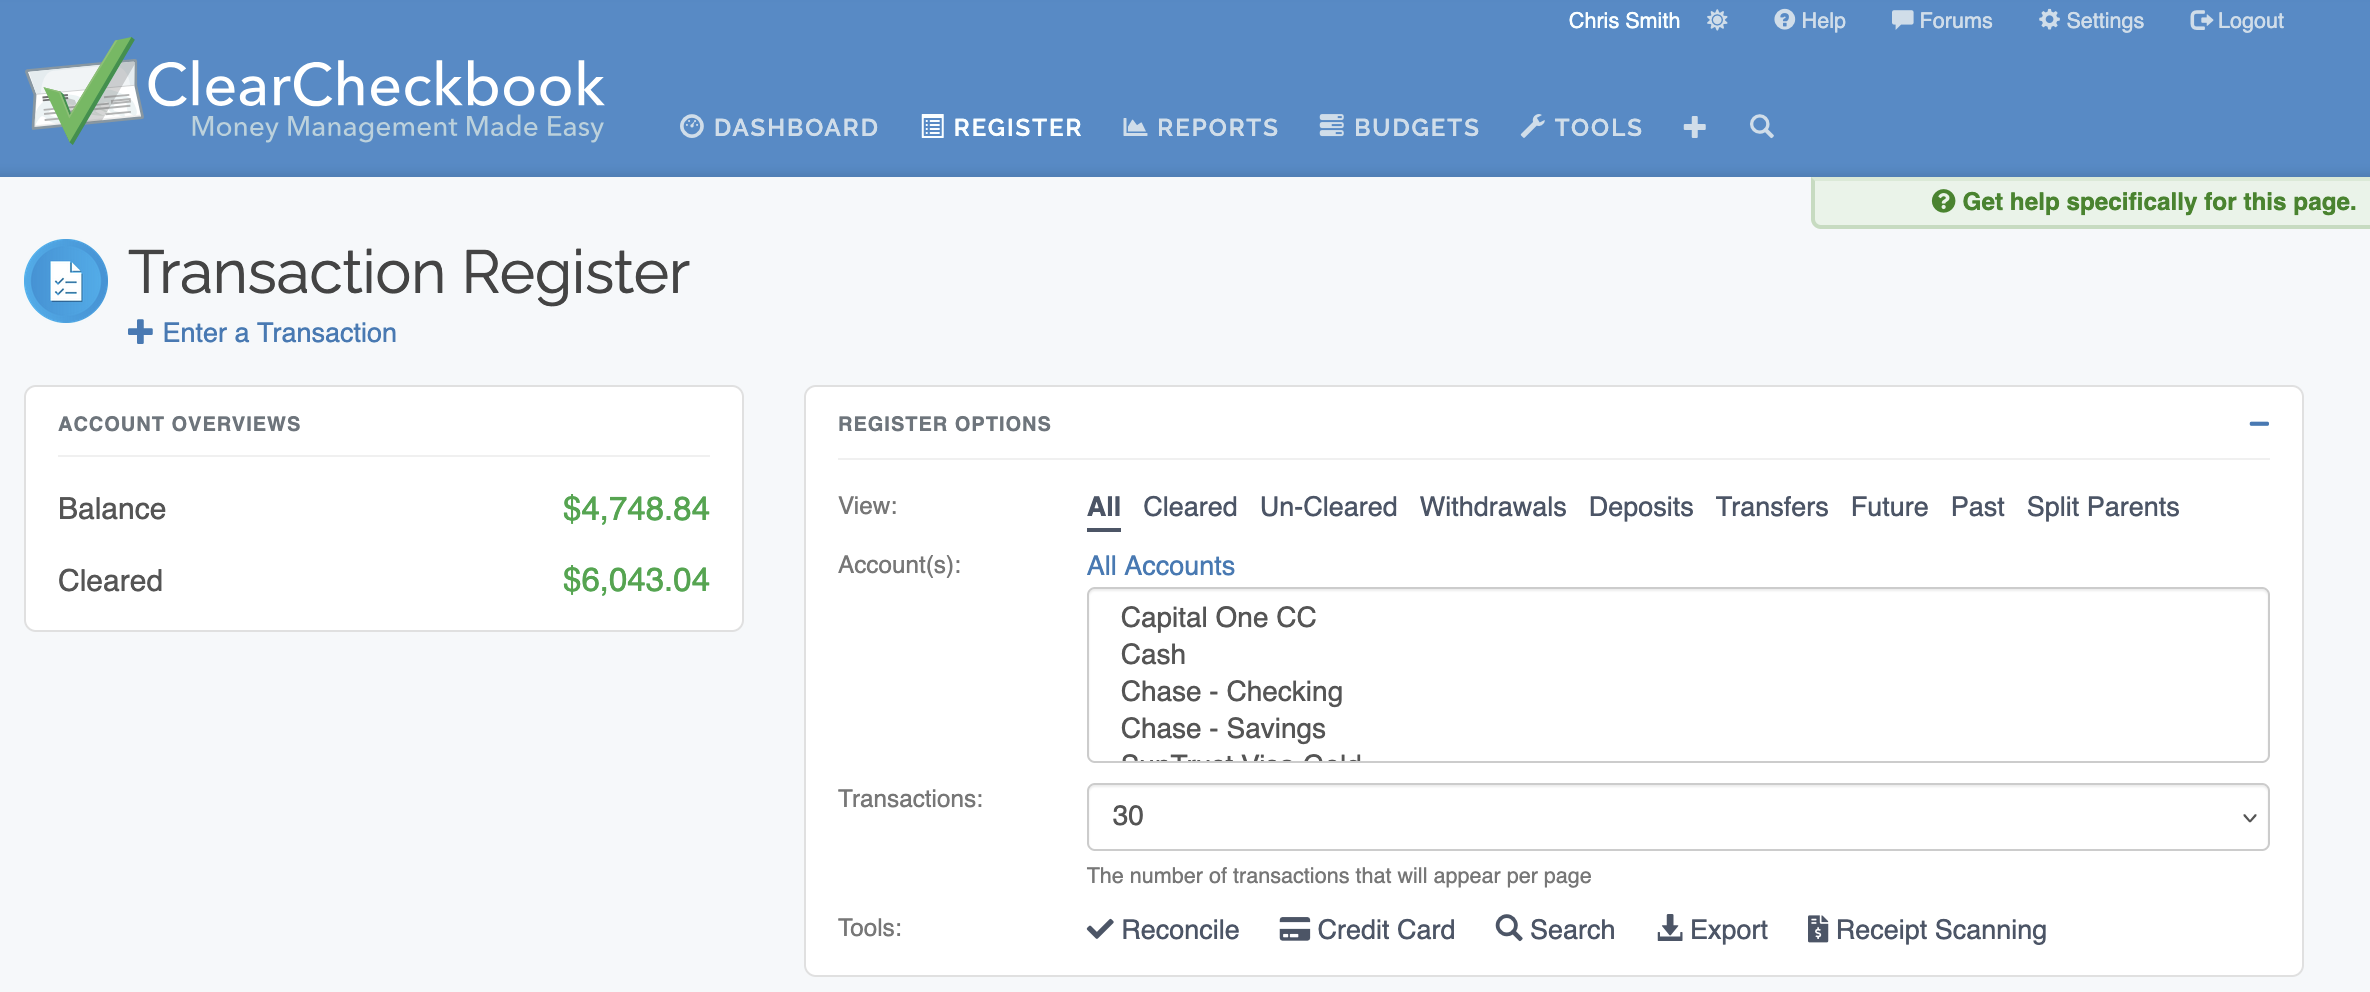
Light mode selected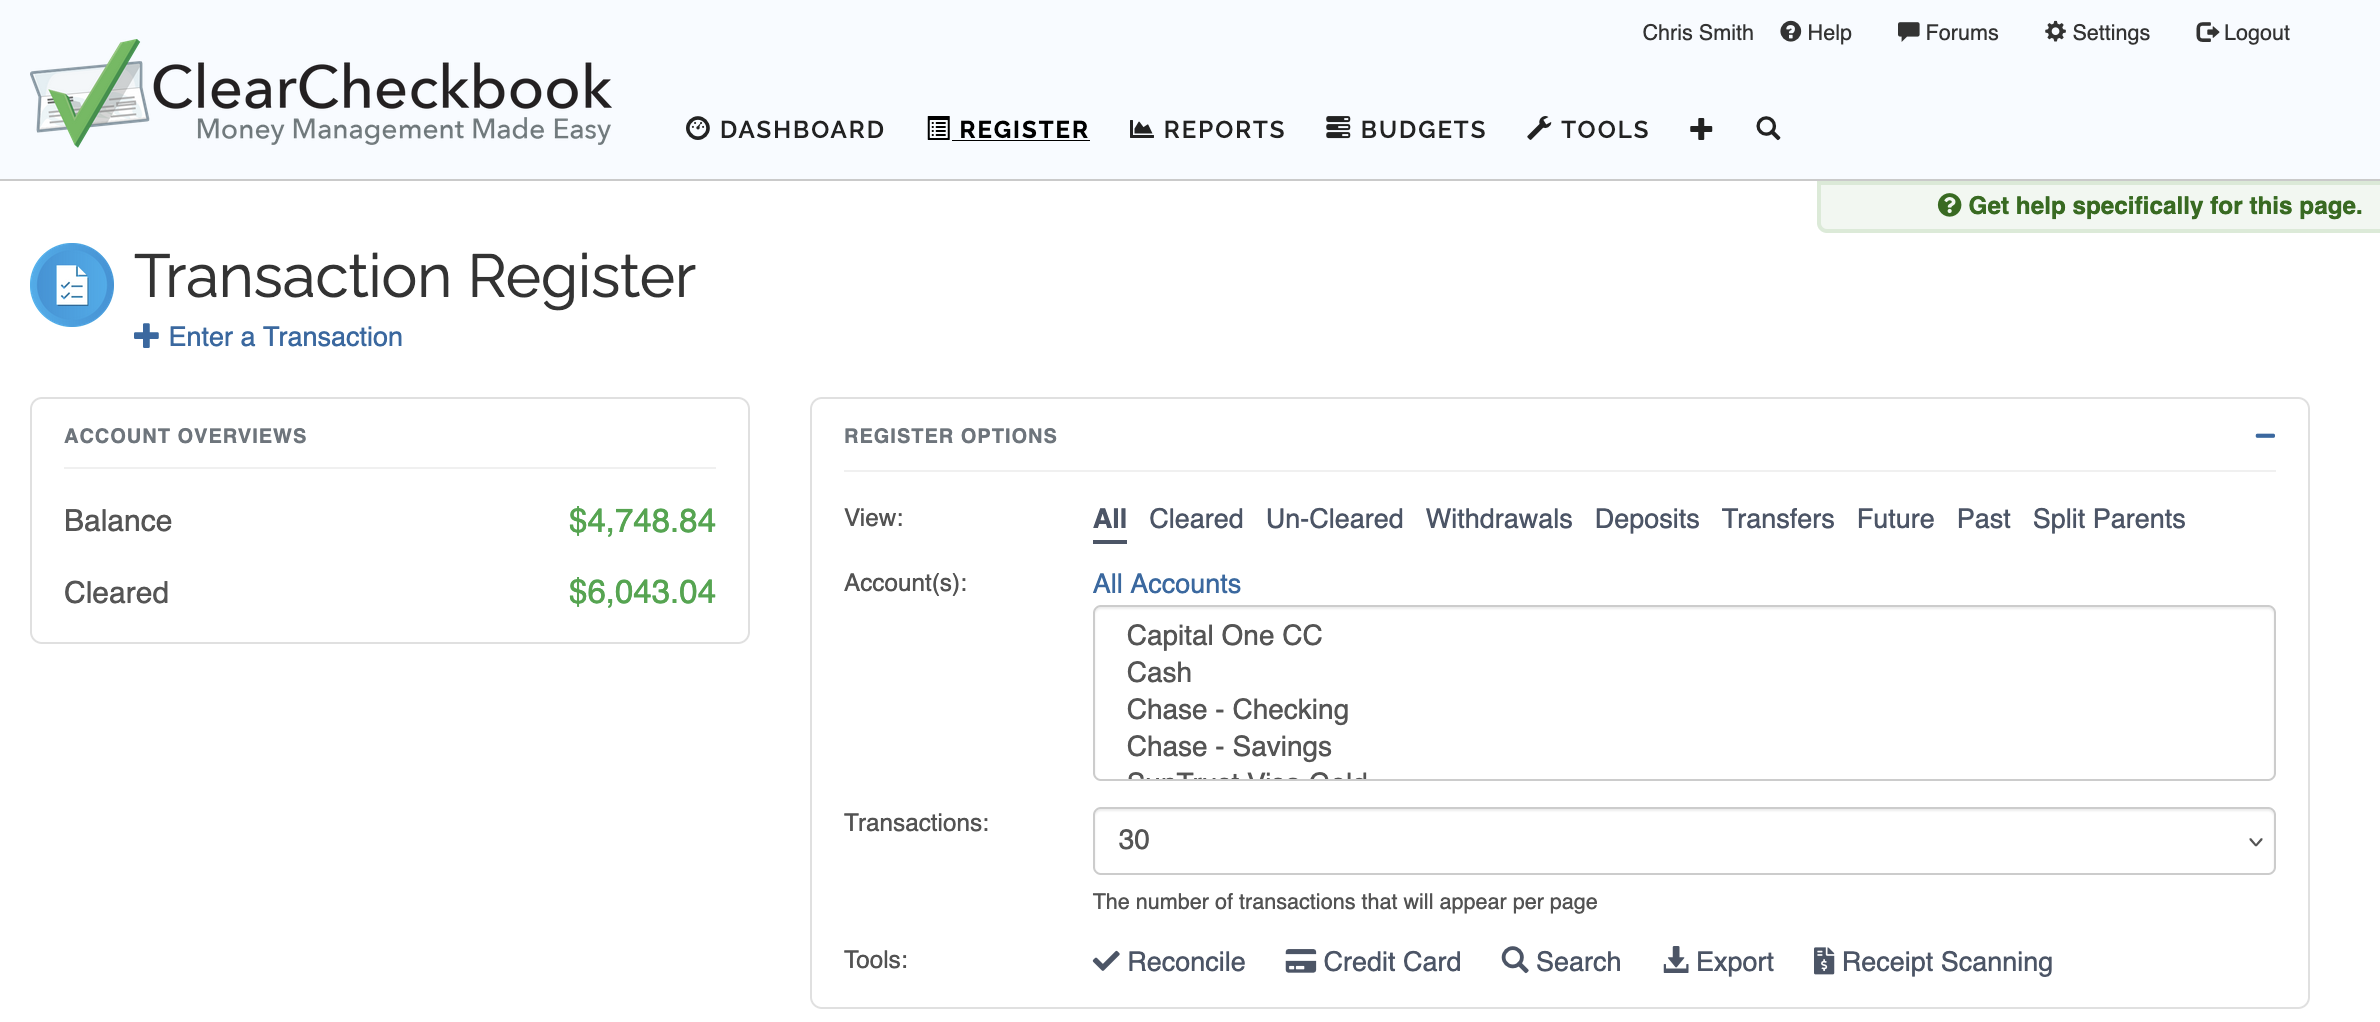
High Contrast mode selected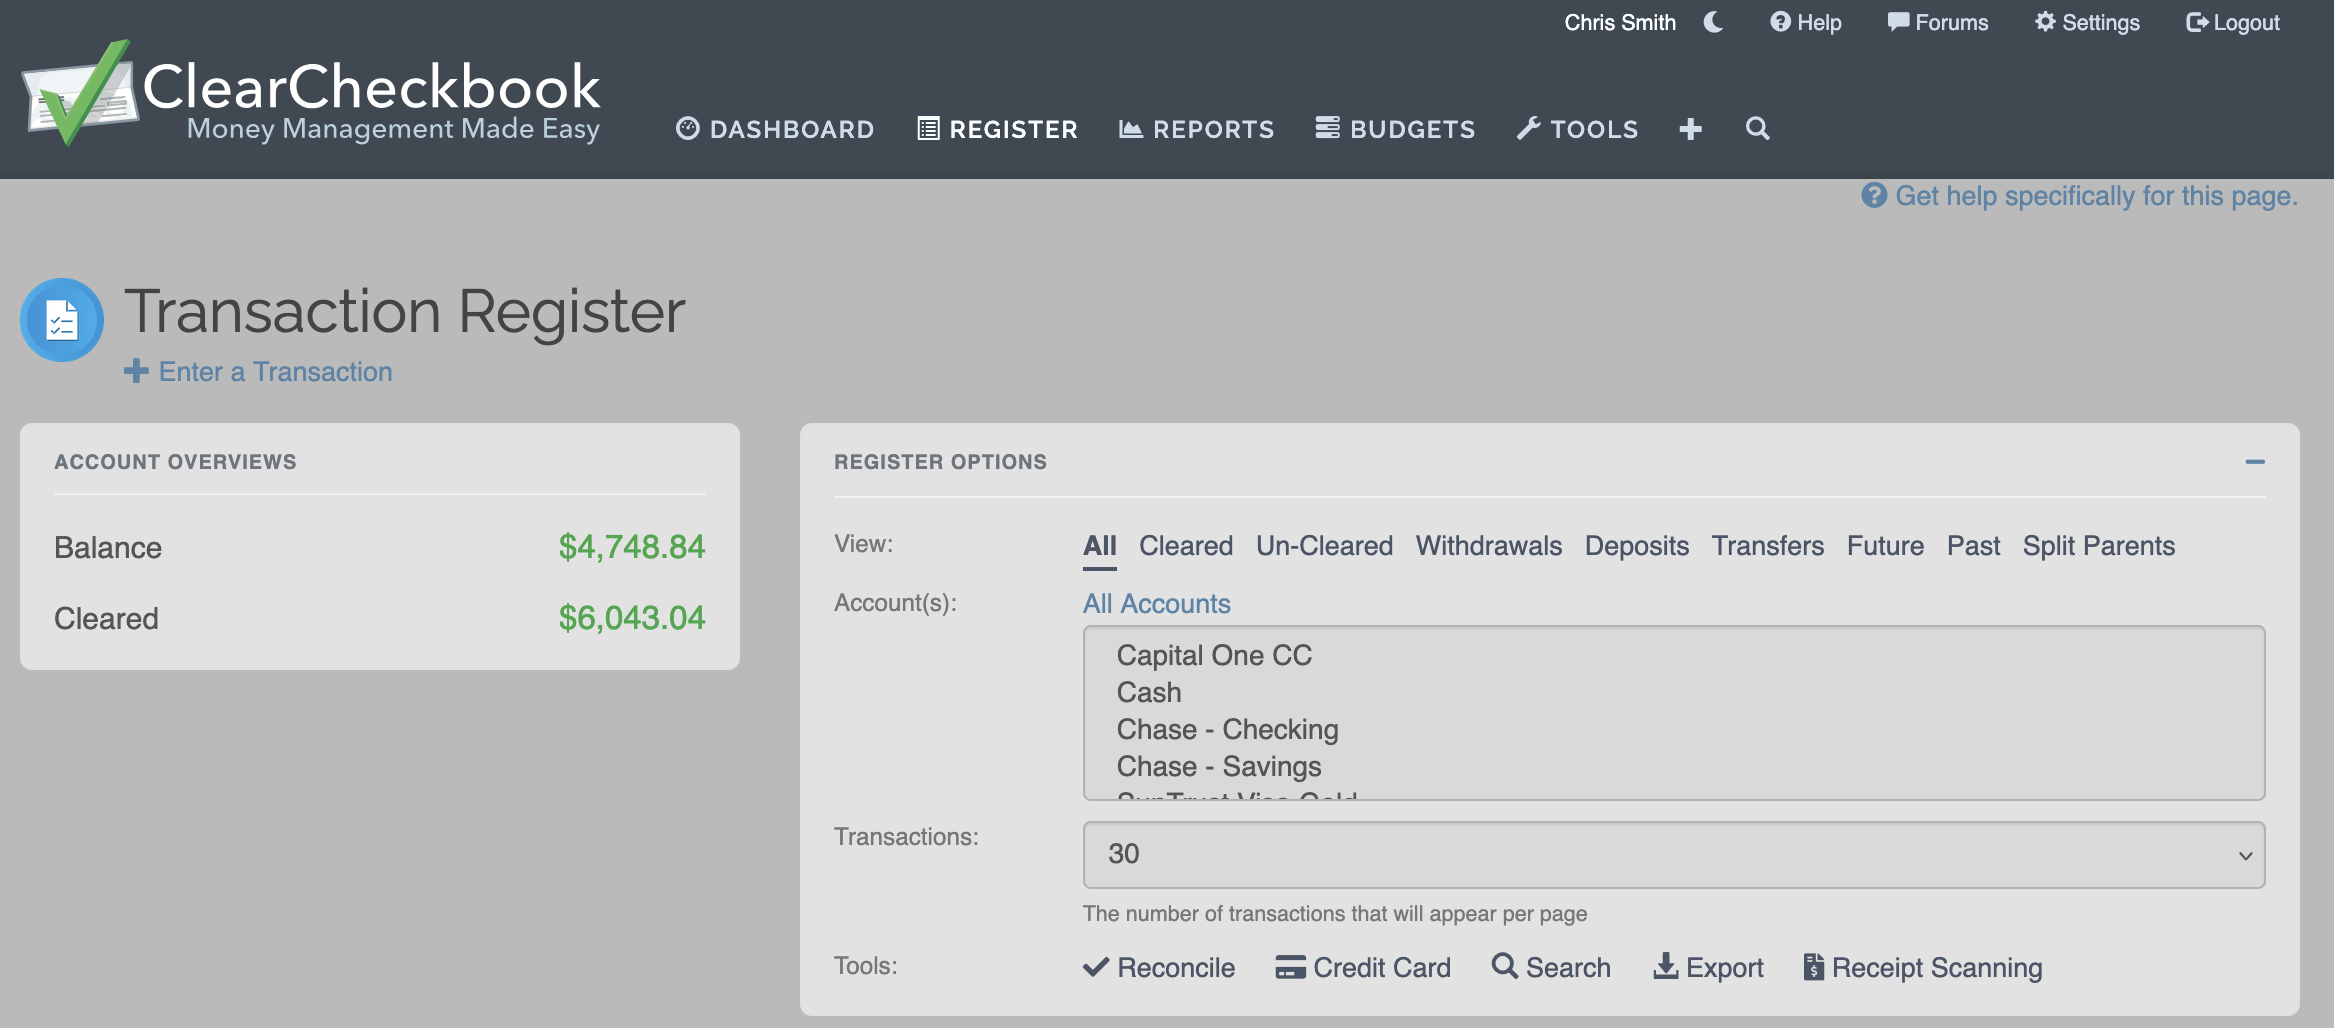
Dark mode selectedWhen this option is set to Yes, ClearCheckbook will attempt to read the current Light / Dark mode from your current device (computer, phone, tablet, etc) and adjust the ClearCheckbook CSS theme to match it.
No (default) and Yes You can change this option to set which budget tool is your default. This budget option changes which budget tool is loaded by clicking on the Budgets link in the main navigation.
Budgets (default) and Envelope Budgets By default, we display all of the tools in the Tools page in a two columned list. We have a separate view that shows all of the tools grouped with similar or related tools so it's easier to find and use the tools you want.
The options are List view (default) and Logical Groups

List View option selected
Logical Grouping option selectedWhen you sign into ClearCheckbook, this is the page that will load upon logging in.
The options areDashboard (default) or Transaction Register If you have transactions post-dated in the future, you can have your balances separate into the balance as it is today and a balance that includes all post-dated transactions. If separated, the balance as of today will appear as Today's balance under the overall balance.
The options are Yes (default) and No
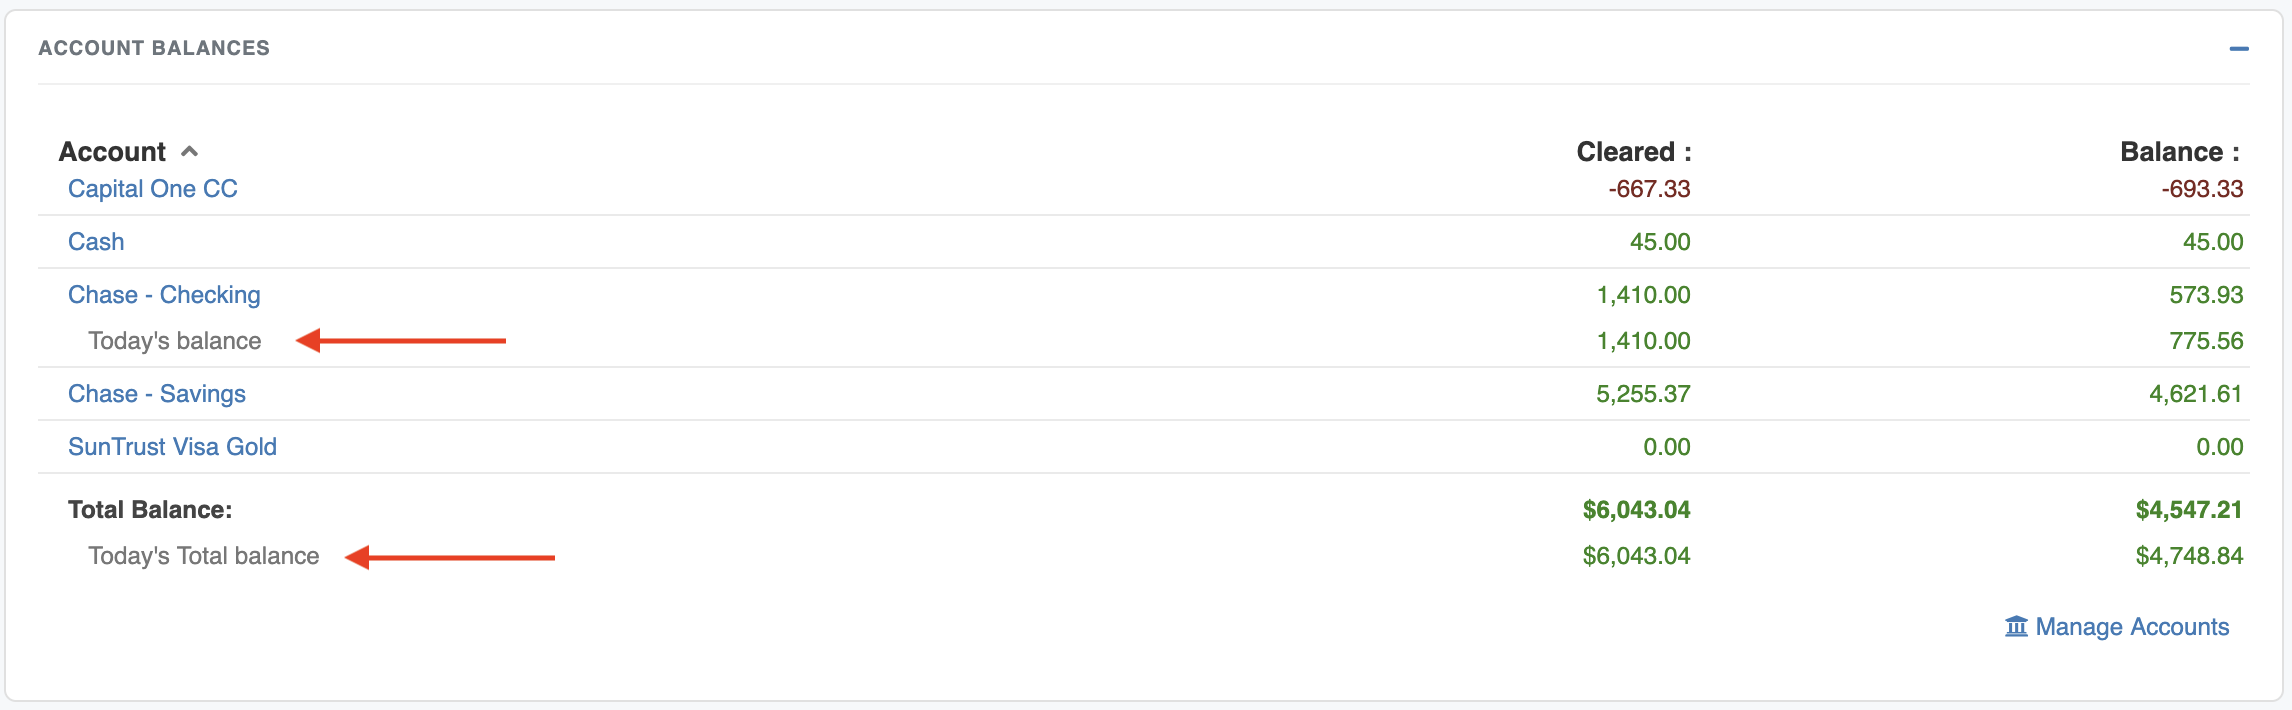
Today's balance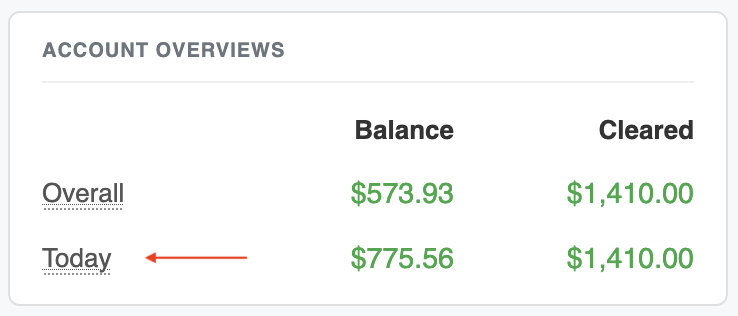
Today's balanceThis option changes how transactions are ordered within a date
The options are Deposits First (default) or Order Entered.
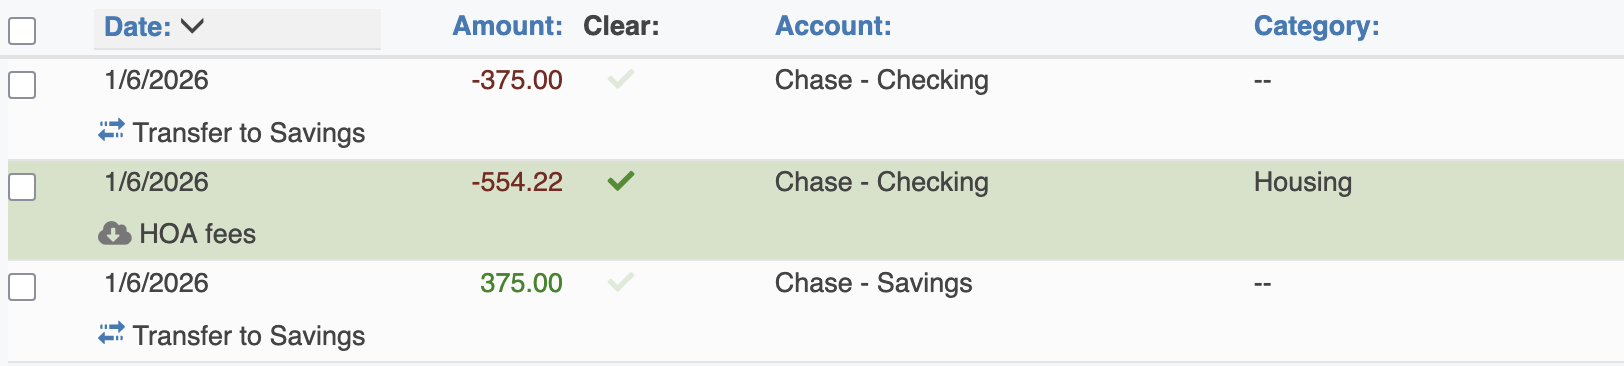
Deposits First selected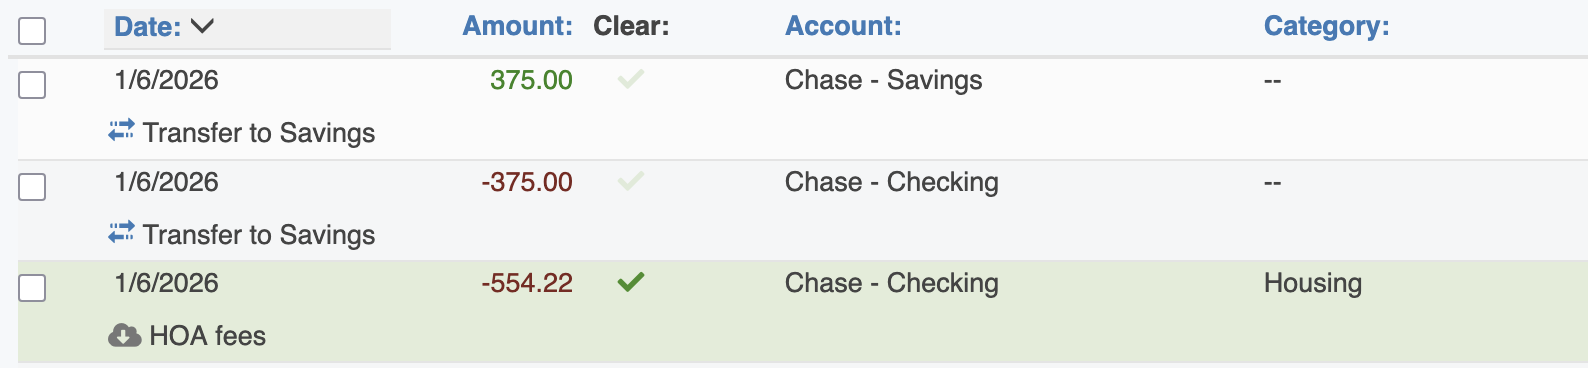
Order Entered selectedDeposits First has the deposits listed before the withdrawals. The Order Entered shows the transactions in the order they were entered. This option, when set to Hide Cleared will hide everything related to Clearing / Reconciling. This includes the Cleared balances (in the overviews and running balances), reconcile tool, Cleared column, ability to Clear a transaction on add/edit, etc. This should only be used if you never plan on clearing or reconciling your transactions.
Show Cleared (default) or Hide Cleared. If you'd like to see all of your un-cleared transactions show up at the top of the transaction list on the Transaction Register, you can do that by changing this setting to Enabled. This will work regardless of any other view options or sorting you have enabled.
You can choose whether or not to show the running balance in your transaction register.
The options are Enabled (default) or Disabled

Enabled selected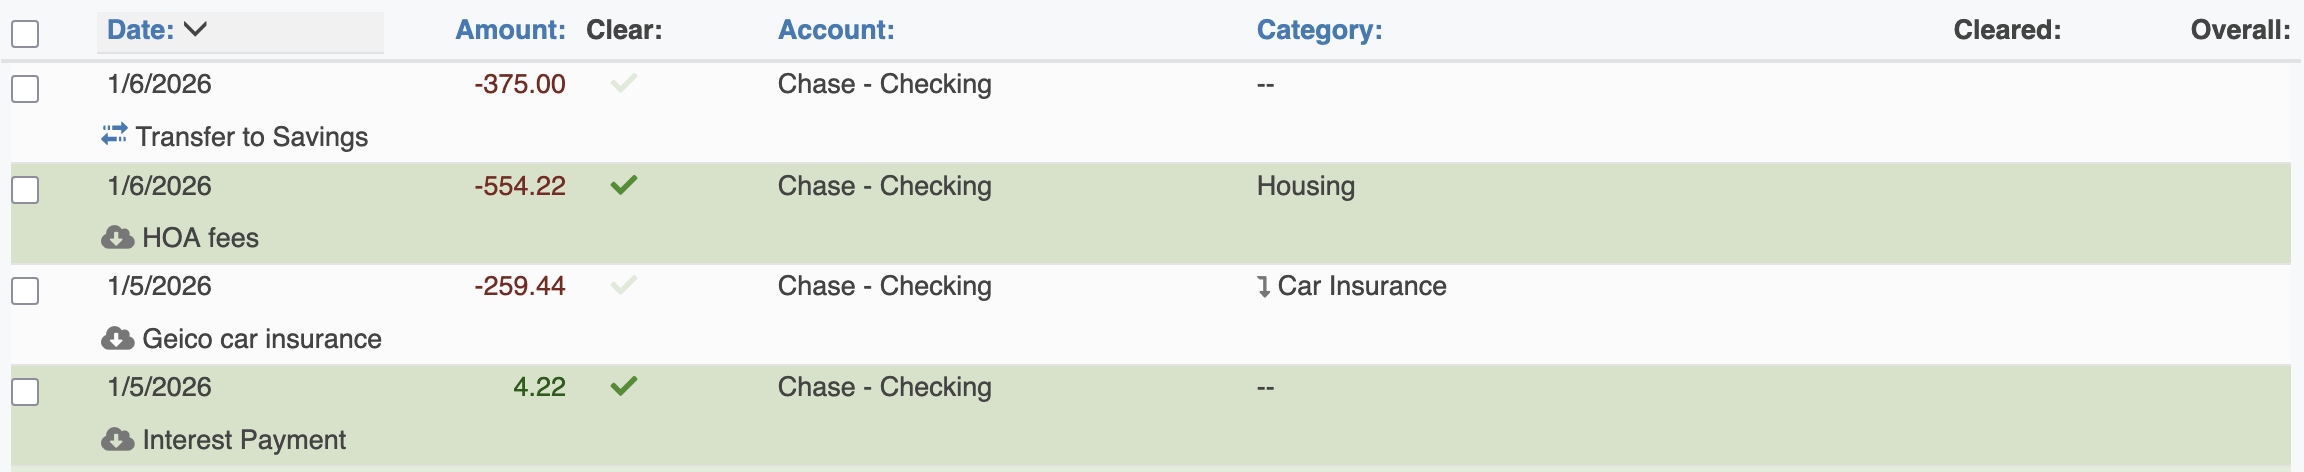
Disabled selectedCleared Lock lets you lock any cleared transactions after a set time period. This will prevent you from accidentally editing or deleting transactions that have been cleared. Preventing modifications to cleared transactions will help you keep your cleared balances from changing if you accidentally edit or delete a cleared transaction.
When enabled, you can choose the number of days after a transaction has been cleared to lock it. The options are 1, 2, 5, 10, 30, 60, 90 days.
Once a cleared transaction passes the days value from above, the cleared checkmark will be replaced with a icon and you will not be able to make any changes to the transaction.

Enabled selectedIf you'd like to hide transactions prior to a certain date on the transaction register, you can enable the Archive Transactions option and choose how you would like the transactions archived. There are two ways to choose. First is by selecting the number of days in the past which transactions should be archived and the second way is to select a specific date.
Any transactions dated prior to the Archive Date will not be shown on the transaction register. You can still find them through the Search tool and the transactions will still affect your budgets, balances, reports, etc.
When enabled, you will see a note on the Transaction Register in the Register Options box reminding you that you have an archive date set up. You can learn more about this on the General Transaction Register knowledge base article.

This setting shows or hides an Upcoming Transactions block above your transactions on the Transaction Register.
When enabled, any upcoming / future transactions from the Bill Tracker and Reminders / Recurring transactions tool will appear above your transaction list. The list shows the date, description, account, category and how the transaction will affect your overall balance. The list shows the next year's worth of transactions. If more than eight transactions are displayed, the Upcoming Transactions block will be scrollable so it doesn't take up as much room on your register.

Remove link at the top right side of the Upcoming Transactions box will remove the section from your Transaction register. You can re-enable it by turning this setting on again.When enabled, the "With Selected" action bar will always appear on the screen when viewing the Transaction Register or Search Results if you have at least one transaction selected. This is useful if you select a transaction and don't want to scroll to the top or bottom of the transaction list to perform an action.

3 You can choose whether or not to enable Auto-complete when adding transactions. This is the suggetion list that appears when entering a description, memo or payee.
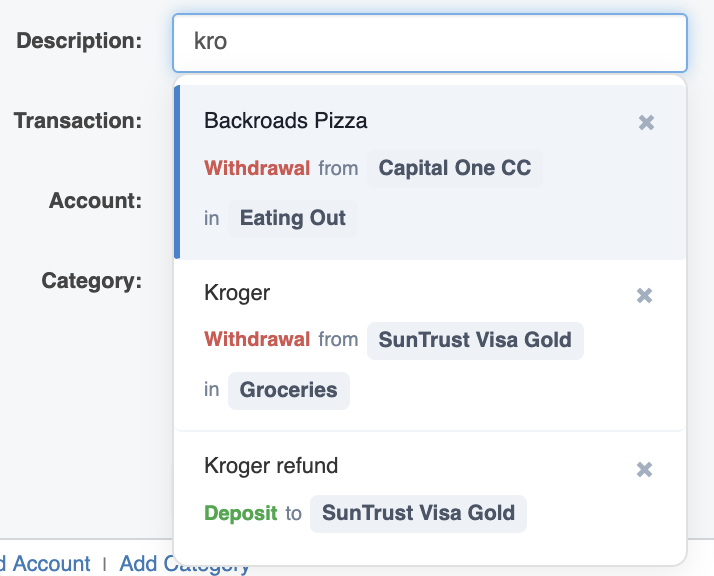
When disabled, no suggestions will appear when entering a description, memo or payee.
The options areEnabled (default) or Disabled If you have auto-complete enabled but don't want it to fill in the last used account, category or transaction type, you can change that here so it only enters the auto-complete text.
The options areFull (default) or Text-only This setting determines how far into the past the auto-complete suggestions will look for matching keywords. You can limit the search functionality so it only looks for more recent transaction matches.
The options areAll Time (default), 3 months, 6 months, 1 year, 2 years or 5 years This option determines whether a checkbox appears at the bottom of the Add Transaction form. When enabled and the option appears, the option, when checked, will keep all form data after adding a transaction. This is useful if you're adding multiple transactions with the same data.
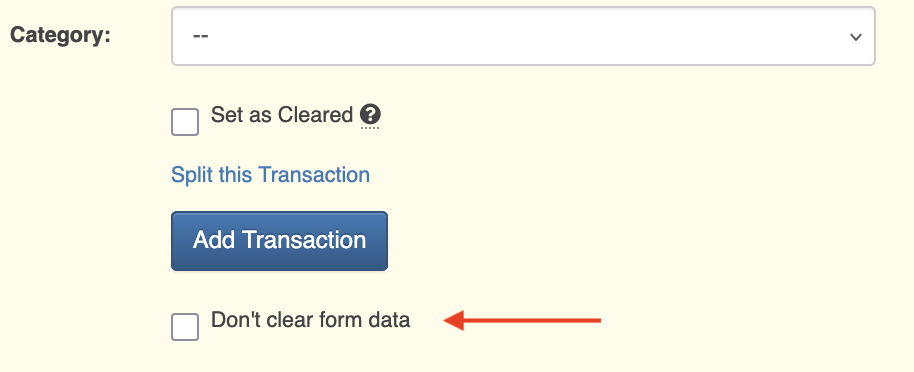
When disabled, the checkbox does not appear at the bottom of the Add Transaction form.
The options areDisabled (default) or Enabled This option determines whether the Set as Cleared checkbox on the Add Transaction form is selected by default when adding new transactions. If you set this option to Enabled, the Set as Cleared option will be selected by default. This setting is useful if you're adding a lot of transactions that have already cleared with your bank.
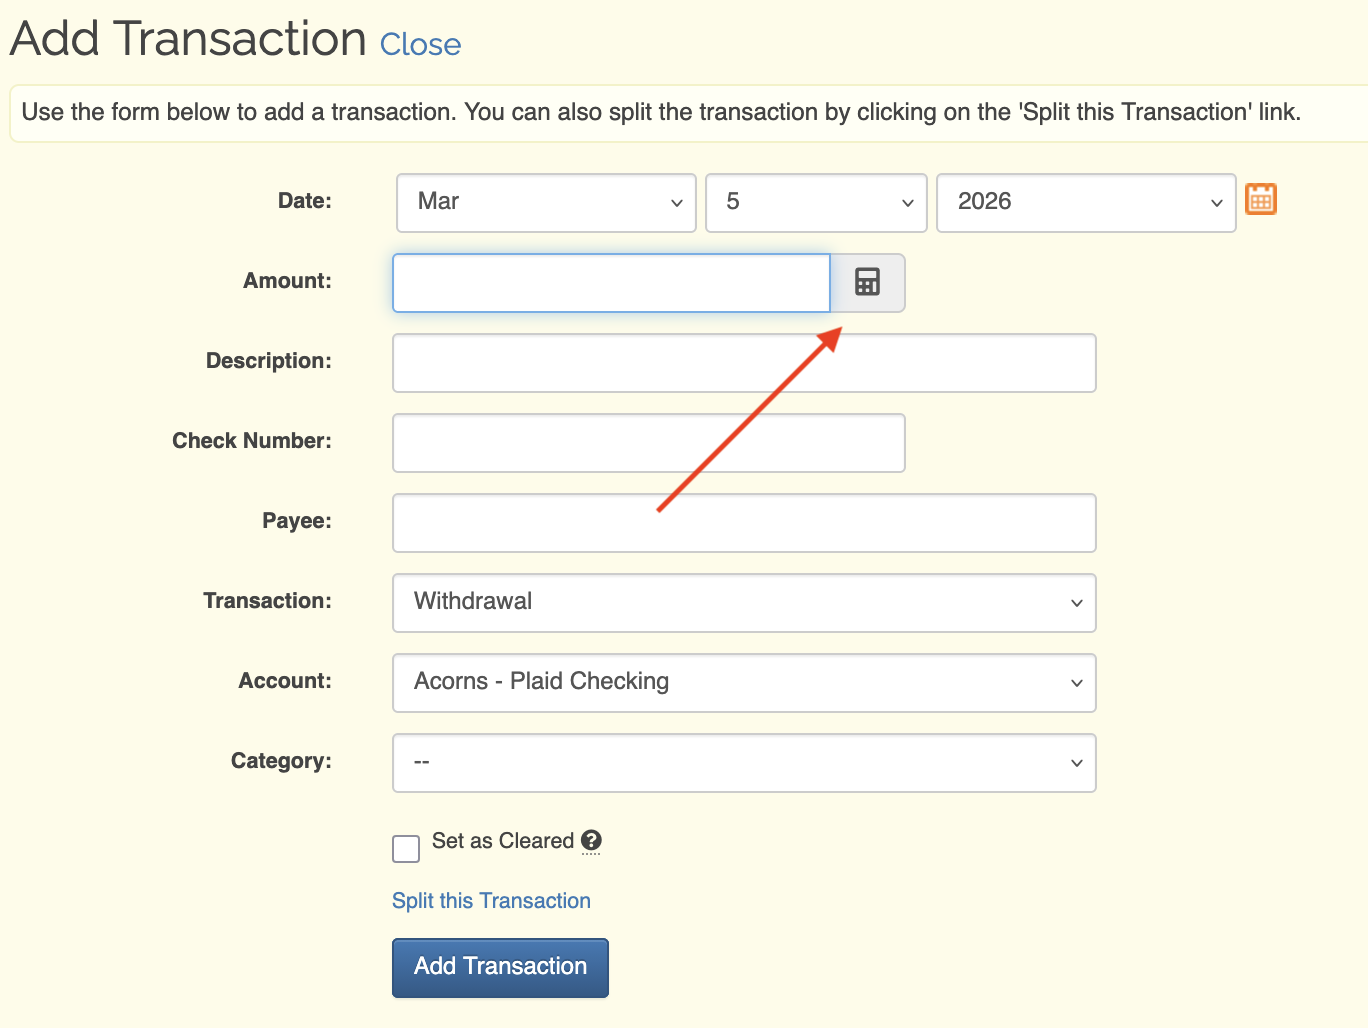
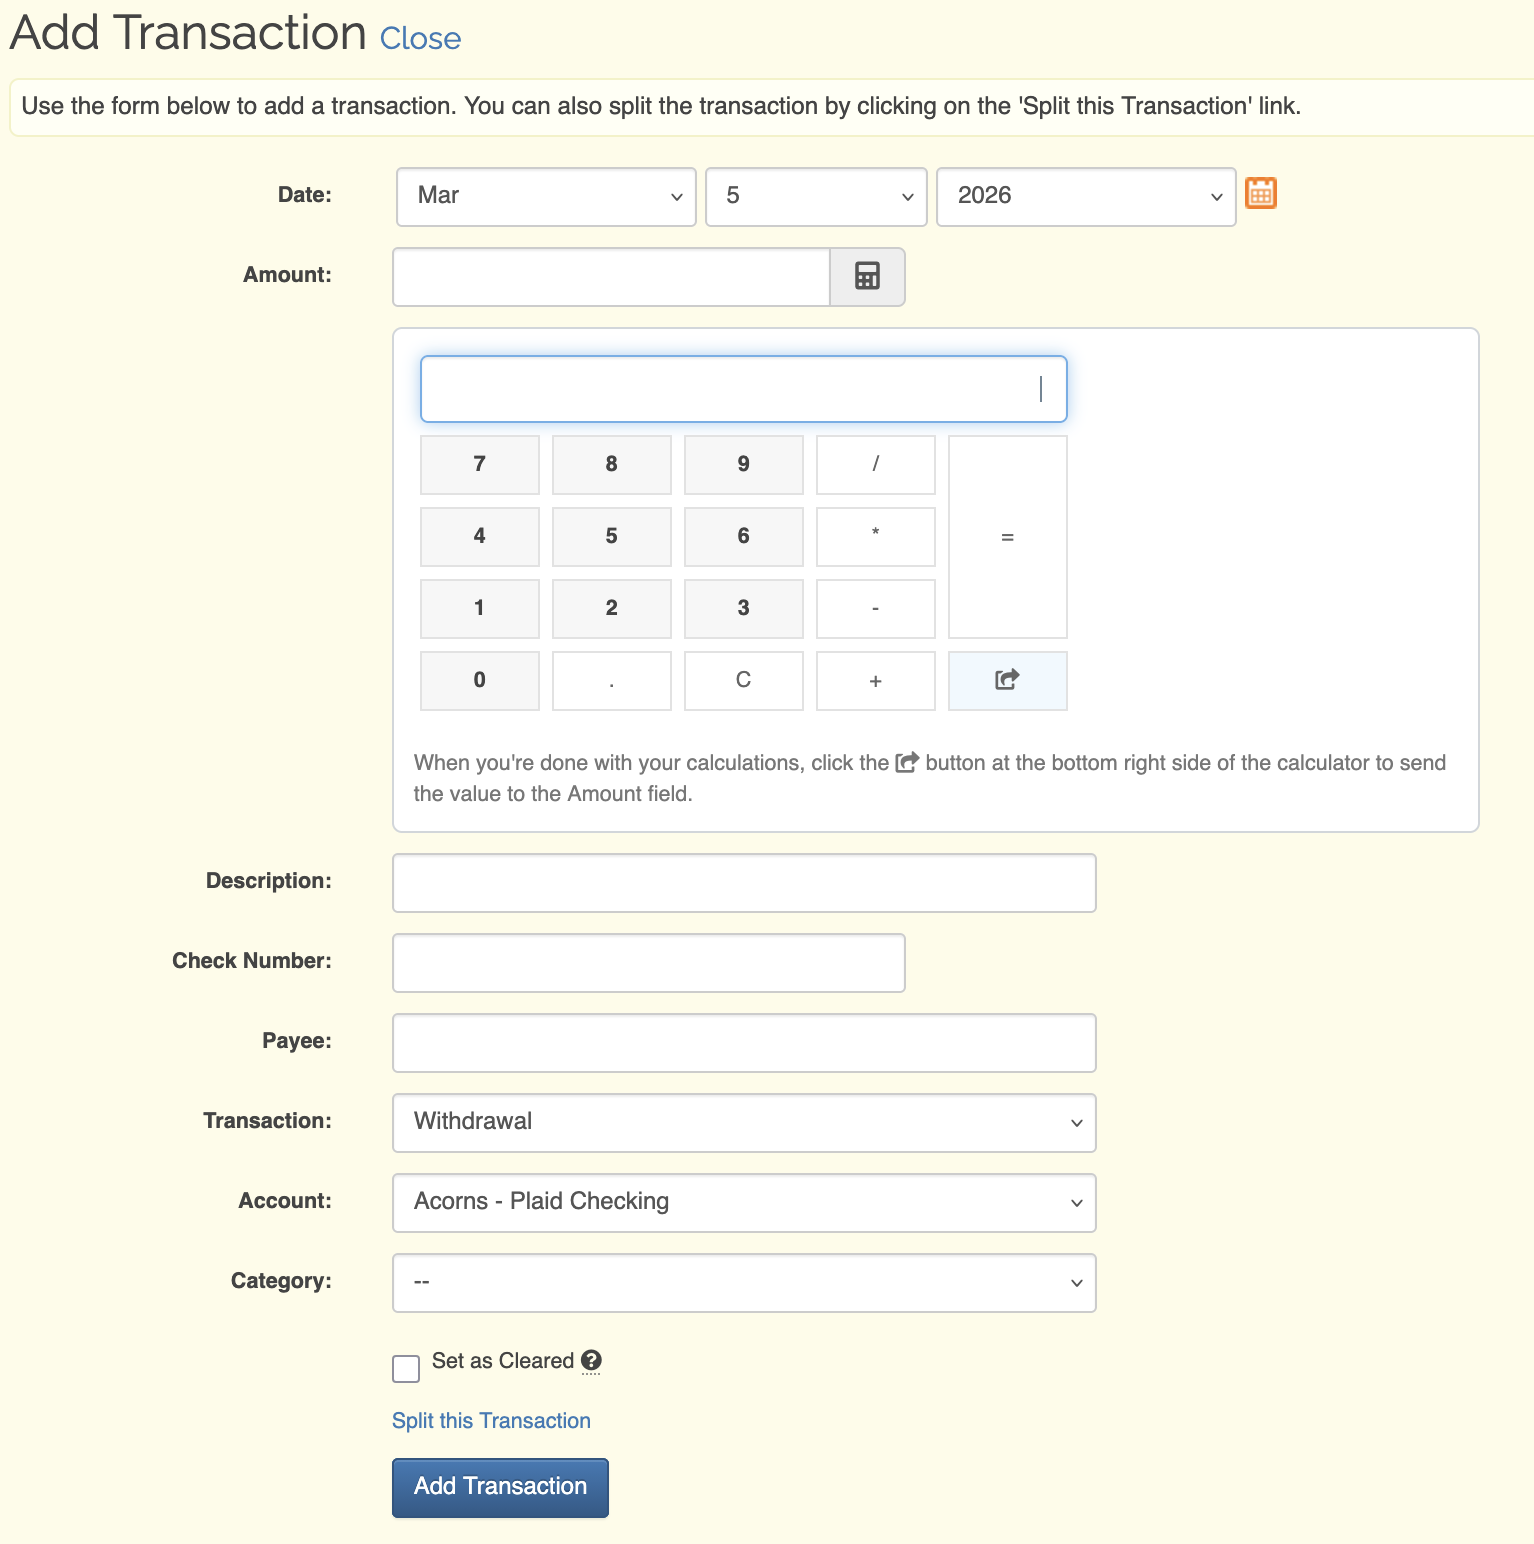
Disabled (default) or Enabled When this setting has the Enabled option selected, a calculator icon will appear in the Amount field when adding transactions. Clicking on this calculator icon will bring up a basic calculator to help you if you need to do some math to figure out what the amount should be.
After performing your calculations, you can send the result directly to the Amount field by clicking the blue button at the bottom right side of the calculator. This will also close the calculator. You can also close the calculator without sending data to the Amount field by clicking the calculator icon in the amount field again.
The options are Disabled (default) or Enabled
This option determines whether the Add Transaction form will perform a validation on the check number field to make sure the check number isn't already being used. When enabled and a duplicate check number is found, the check number field will turn red and a small message will appear under the check number field. The check number validation takes place after you move to another field in the Add Transaction form (when the field loses focus).

Note: A duplicate check number will not prevent you from adding the transaction. The warning is simply to alert you that the check number has already been used.
The options areDisabled (default) or Enabled This option is in reference to being able to categorize transfer transactions. By default, the To/From category options are hidden and you need to click Show / Hide Transfer Categories before seeing them. If you change this setting to Visible, the category options will always appear when you create a new transfer.
The options are Hidden (default) or Visible

Visible option selectedWhen this setting has the Enabled option selected, the site will automatically place the decimal point when you're entering amounts into any amount field. See the screenshot below for a better idea of how amount entry behaves when the option is enabled.
The options are Disabled (default) or Enabled
Enabled option selectedYou can change how you want sub-categories identified in select boxes throughout the website with this setting. When set to Indentation, sub-categories will be prepended with a tab in all select boxes. When using this method, the sub-categories are searchable by typing when the select box has focus.
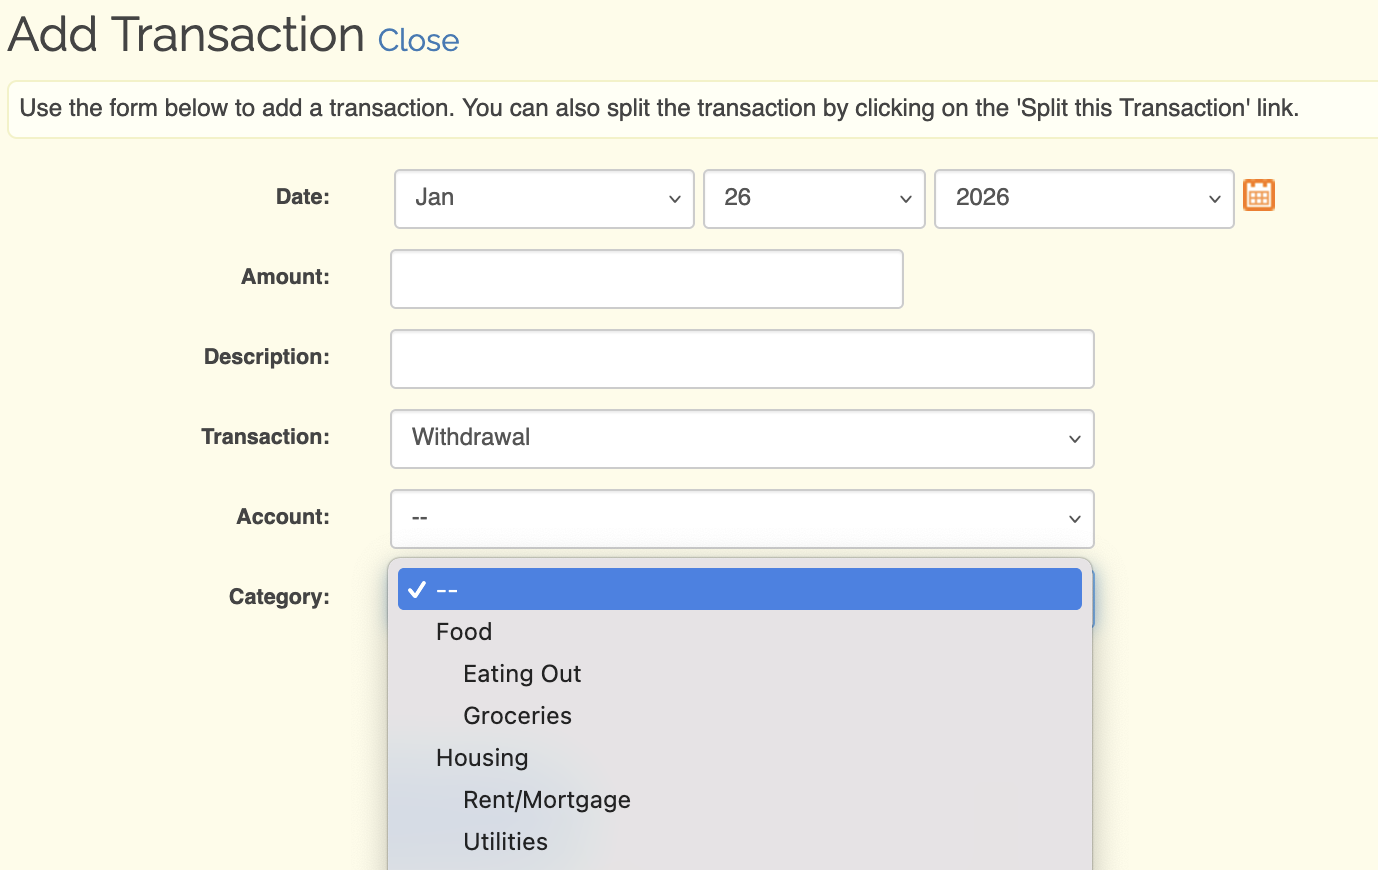
Indentation option selectedWhen Arrow (») is selected, you'll see an arrow in front of the sub-category. When this is shown, only parent categories can be searched if you type on the keyboard when the select box has focus.
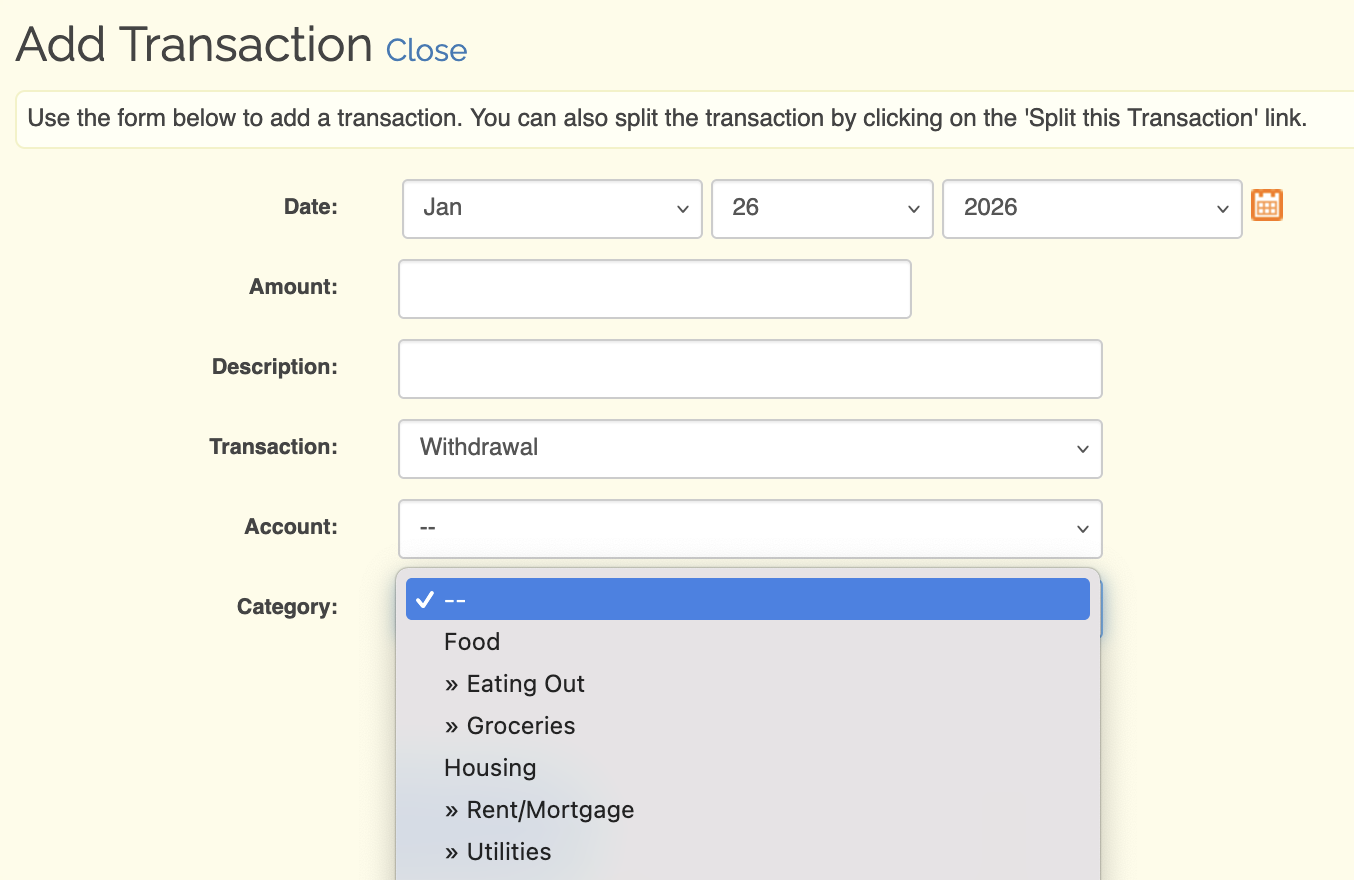
Arrow (») option selected