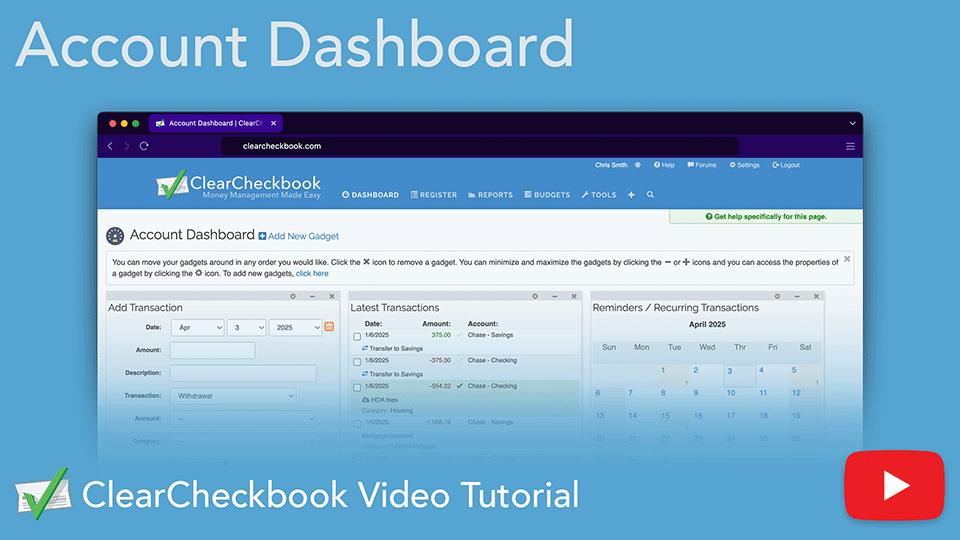
The Account Dashboard is the default page that appears when you log into ClearCheckbook. The Dashboard is a place for getting a quick glance at many of the tools and features available throughout the site and provide an easy way to add transactions.
The Dashboard contains Gadgets which you can customize and move based on what information is most important to you. Each gadget contains its own information and will relate to a specific tool or feature on ClearCheckbook.

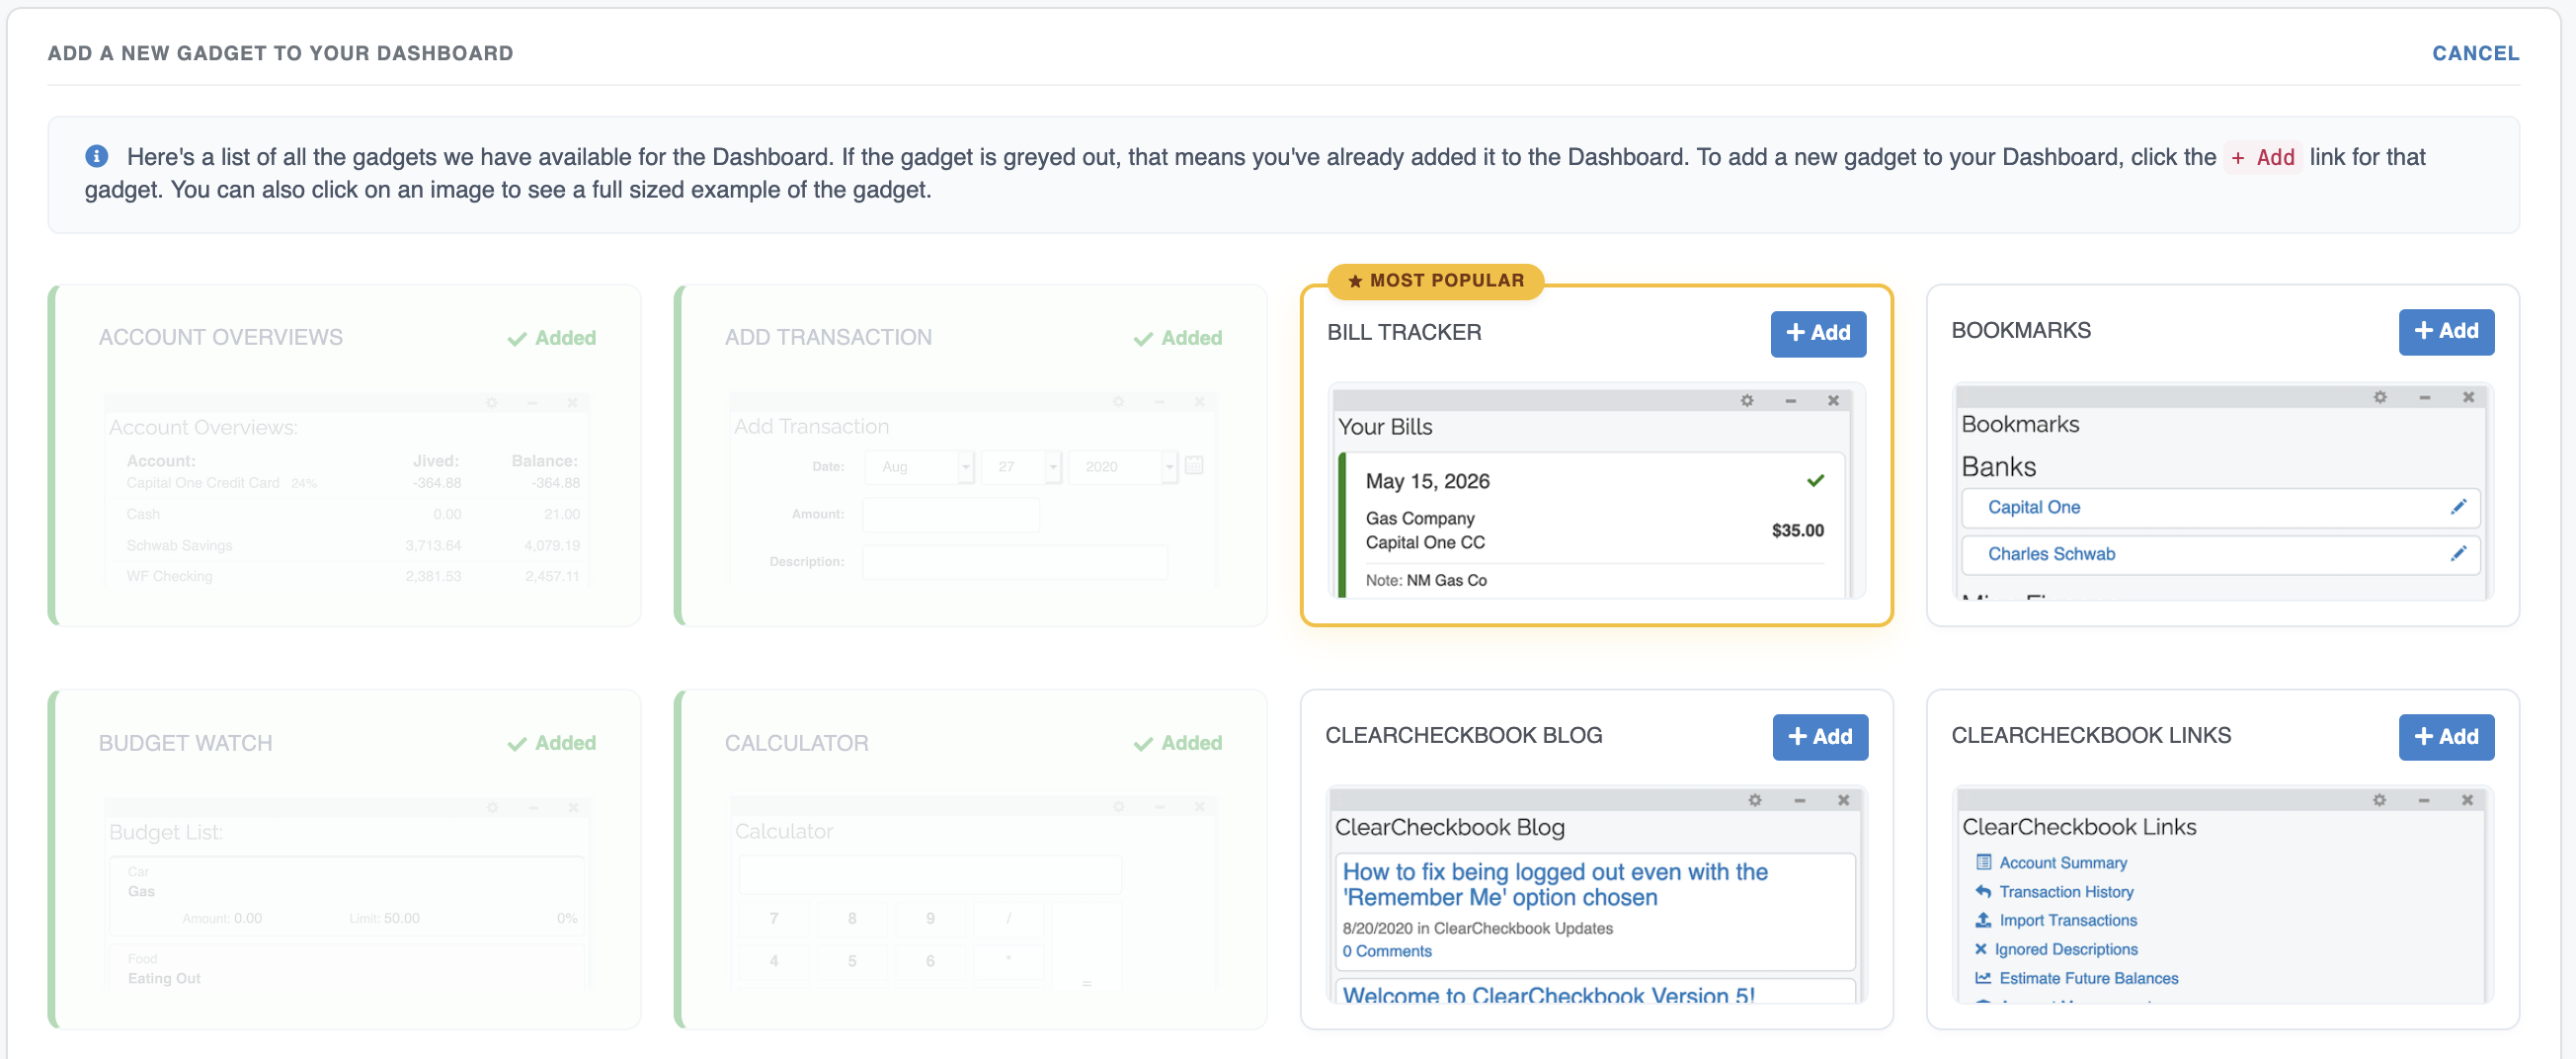
1. You can add new gadgets to your Dashboard by clicking on the Add New Gadget link at the top of the page, to the right of the Account Dashboard title.

2. Once you click the Add New Gadget link you'll be presented with a list of gadgets with a small preview of the gadget. If the gadget is grayed out it means the gadget has already been added to your Dashboard. To fully add the selected gadget, click the + Add link next to the gadget name.
To delete a gadget from the Dashboard, click the `X` icon at the top right side of the gadget you want removed.

To minimize a gadget, click the `-` icon at the top right side of the gadget. This will shrink it down to just the title bar.

To maximize a gadget to its full size, click the `+` icon at the top right side of the minimized gadget.
Some gadgets have settings which can be used to customize the gadget. You can expand the gadget settings by clicking the icon at the top right side of the gadget.
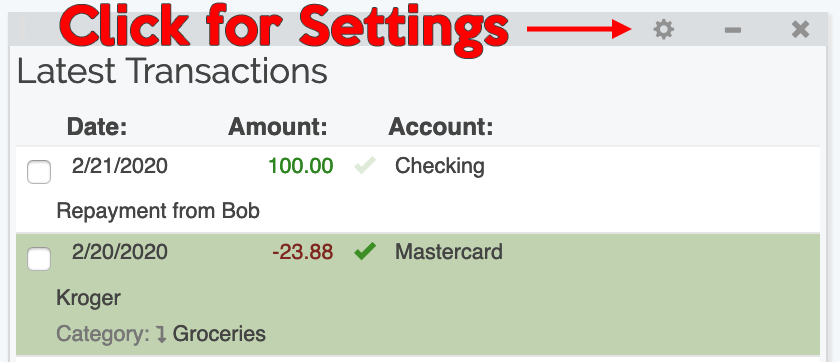
If the gadget has any settings you can adjust, you'll be able to do that here. Once you make the changes, click the Save button and the gadget will reload and the new settings will be taken into effect.

1. To move a gadget, first move the cursor over the darker gray bar at the top of the gadget and it will change to look like this: .
2. Next, click down and drag the gadget to the desired location within the same column or in a different column. A yellow box will appear to let you know where the gadget will be placed.
3. Finally, release the click and the gadget will be placed there and the location will be saved.
Learn how to customize and use the ClearCheckbook Account Dashboard to get a quick snapshot of your finances. See how gadgets interact, add transactions, and personalize the layout to fit your needs.
Direct link to YouTube