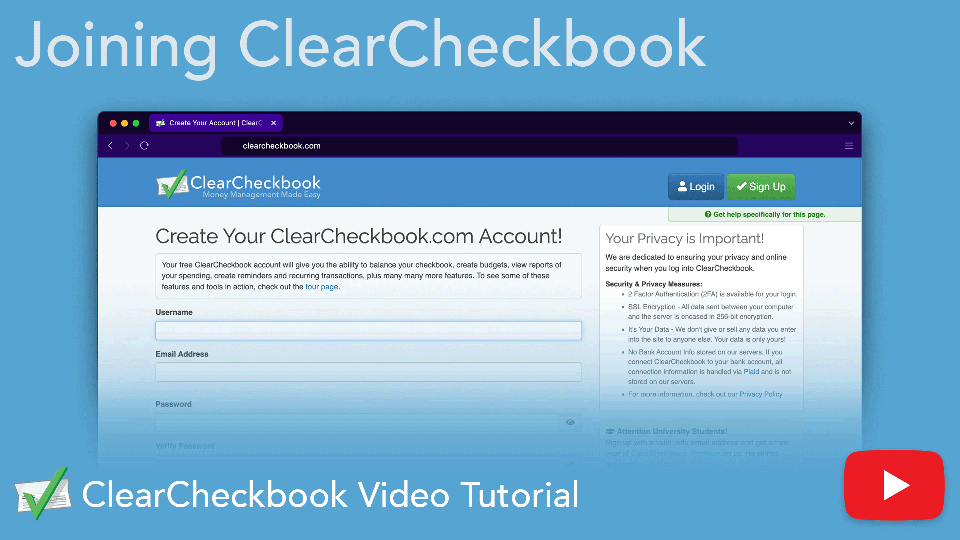
In order to use ClearCheckbook, you'll need to sign up with a unique username and email address. This means the username must not be used by another member and the email address must not already be used in our system. Both the username and the email address need to be unique so we can find your account when you sign in.
If you receive an error related to your username when you try signing up, you might need to try a different username that's more unique. For example, if you tried entering testuser and get an error that it's already in use, you should try making it more unique by adding additional characters such as testuser 1985.
If you receive an error related to your email address, it's possible you had signed up in the past but forgot about your sign in. In that case, you can try the Forgot Password page.
Watch this tutorial for more information on creating a ClearCheckbook login.
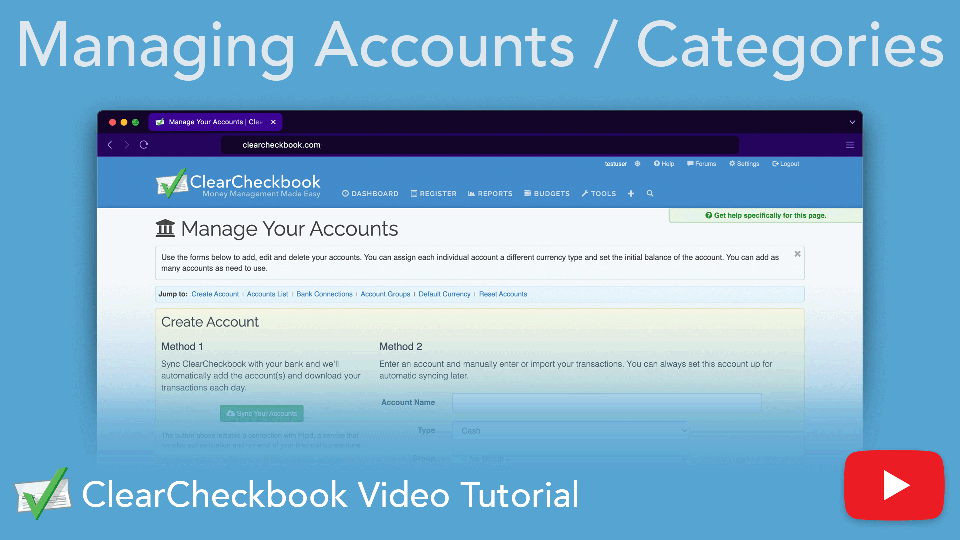
One question many new customers have when they first get started with ClearCheckbook is what the difference between Accounts and Categories. Here's an easy way to remember the difference between the two:
Watch this tutorial for more information on managing your accounts and categories in ClearCheckbook.
There are two options for printing your check register.
1. Simply use your browser's Print function to print the various pages of the transaction register that you need. Printing this way will remove any unnecessary data and leave just the transactions behind.
2. Recommended - Export your transactions to a CSV file and then open and print them from any spreadsheet application such as Excel. To do this, click on Tools at the top of the page and then click on Export Transactions. Use the form to narrow down the transactions you want printed. Once you've downloaded the CSV file, open it and then print it from your computer.ClearCheckbook doesn't have a built-in font/text size adjustment tool. Instead, we rely on your browser to handle font size adjustments. Most modern browsers will remember your font size / zoom settings and apply that every time you load ClearCheckbook.
Below are some screenshots that show how to adjust the size in various browsers. Most browsers have this option in the View menu.


We have two ways to reconcile your transactions. The first method is called Clearing and the second method is called Zero-Out. You can learn more about each of these reconciliation methods here:
You can set up Budgets for any of your accounts and categories. If you want to create a new budget for an account or category you haven't created yet, you will need to first add it through the Settings Manage Your Accounts or Settings Manage Your Categories pages.
Whenever you add transactions to ClearCheckbook and assign them to an account or category that you've set a budget up for, the amount spent for that budget will update.Reminders / Recurring Transactions and the Bill Tracker have some similarties but they both serve their specific purposes. Both tools are a way for you to track and schedule upcoming transactions with the Bill Tracker having more advanced features for tracking whether bills have been paid or if they're overdue. Here's a breakdown of some of the advantages of both tools:
Reminders and Recurring Transactions
The entire ClearCheckbook database is backed up regularly so it can be restored in the event of a catastrophic failure of the system. We offer two methods for you to back up your own transactions for your own purposes:
1. Export Transactions - You can back up your data at any time using the Export Transactions tool. You can export your data to a CSV, QIF, OFX or QFX file which can be saved to your computer.
2. Automatic Backups - You can enable nightly CSV backups to Google Drive, Microsoft OneDrive or Dropbox.ClearCheckbook is free to sign up and use and we never force you to upgrade to one of our paid memberships. We do offer a few different paid memberships based on the features you want access to.
In addition to the free membership, we offer a Sync Membership, Mobile Premium and a full ClearCheckbook Premium membership.
A full explanation of our different membership levels can be found here: ClearCheckbook Membership Levels.When you first sign up with ClearCheckbook, you're presented with the option of taking a walkthrough that helps you set up all your accounts, categories, budgets and reminders. This walkthrough can be accessed at any time by clicking on Settings at the top right side of the page, then click on Account Setup Walkthrough under the Miscellaneous Settings header.
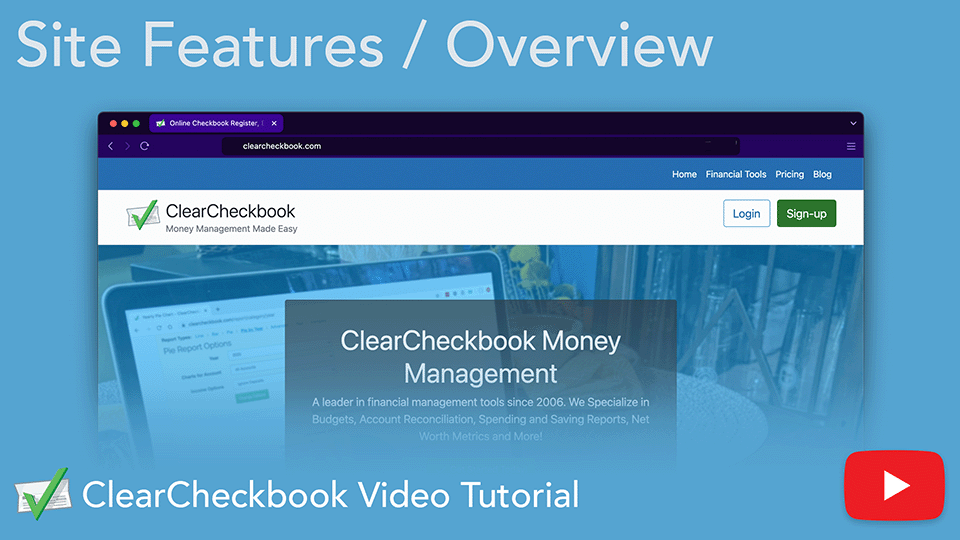
Get a full walkthrough of ClearCheckbook’s tools and features that help you manage your personal finances online. From account management to budgeting, reports, and reminders. This video covers the basics to get you started quickly.
Direct link to YouTube