ClearCheckbook Groups are a way for groups, organizations, or families to manage multiple ClearCheckbook user accounts from one place. The group admin and each group member get full access to all ClearCheckbook Premium features.
Settings at the top right side of the page, then click on Premium Groups under the Premium Membership header.ClearCheckbook Premium Groups is a great way for organizations, families or groups to all share the benefits of a ClearCheckbook Premium membership all while giving the owner of the group the ability to easily access and manage the group members accounts.
This was originally built for caregivers to quickly and easily manage all of their clients information without having to remember several dozen usernames and passwords. With a groups membership, the caregiver can add all of their clients to the group. Once added, the caregiver can quickly switch to their client logins with a click of a button.
Premium Groups are also ideal for families where the parents can be the group owner and their children can each have their own logins and information that's kept separate from their siblings. The parents can quickly log into the accounts of their children and check that they are keeping their spending and saving up to date.
The graphic below shows a representation of how the Group Owner -> Group Member relationship works. In this case, the group owner is the represented at the top while all group members are represented below. The group owner can access any of the group member accounts but none of the group members can see each others, or the group owners, data.

You can watch this video tutorial that further explains Premium Groups and gives an overview of how it works:
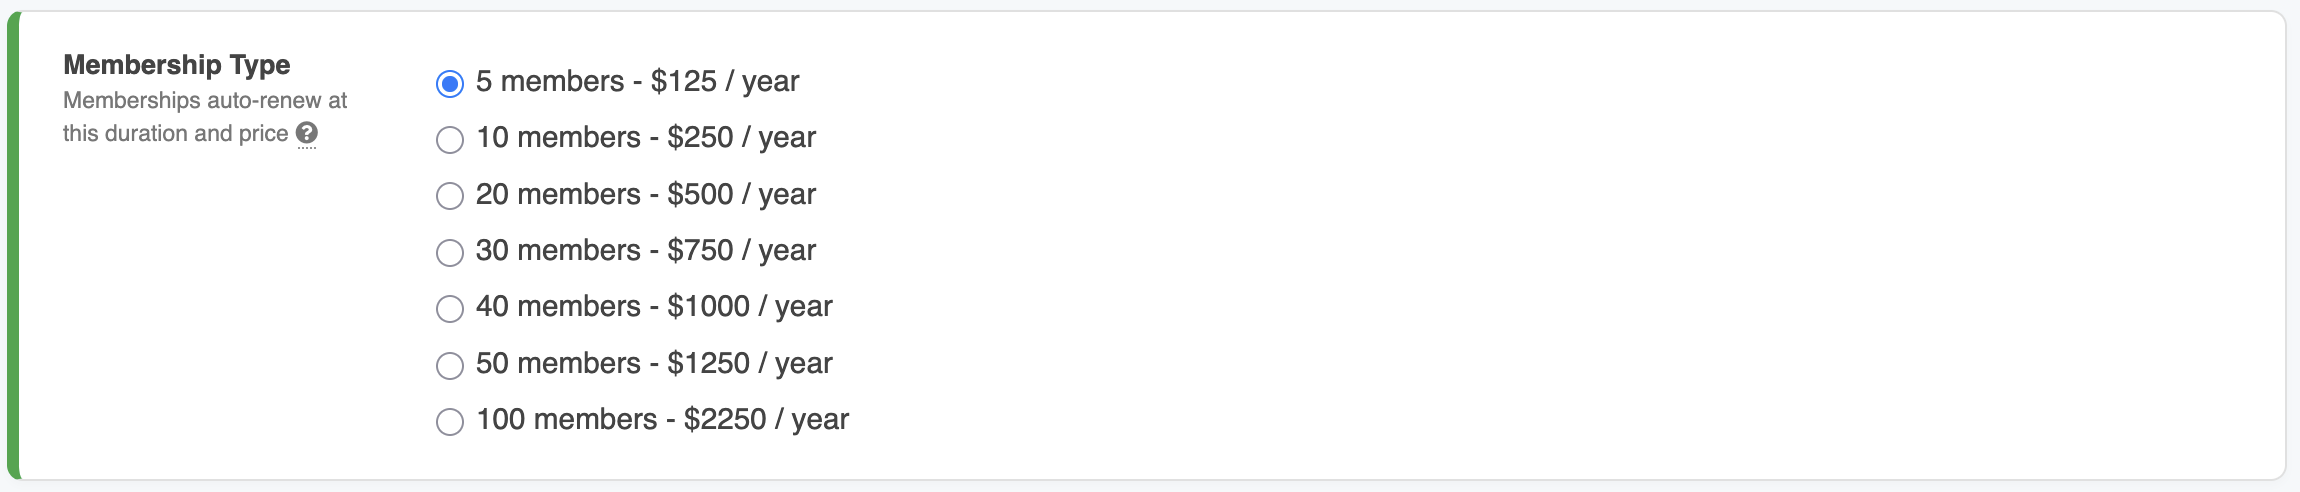
All ClearCheckbook Premium Group memberships are for one year and the pricing differs based on the maximum number of group members allowed. The pricing structure for Premium Groups are as follows:
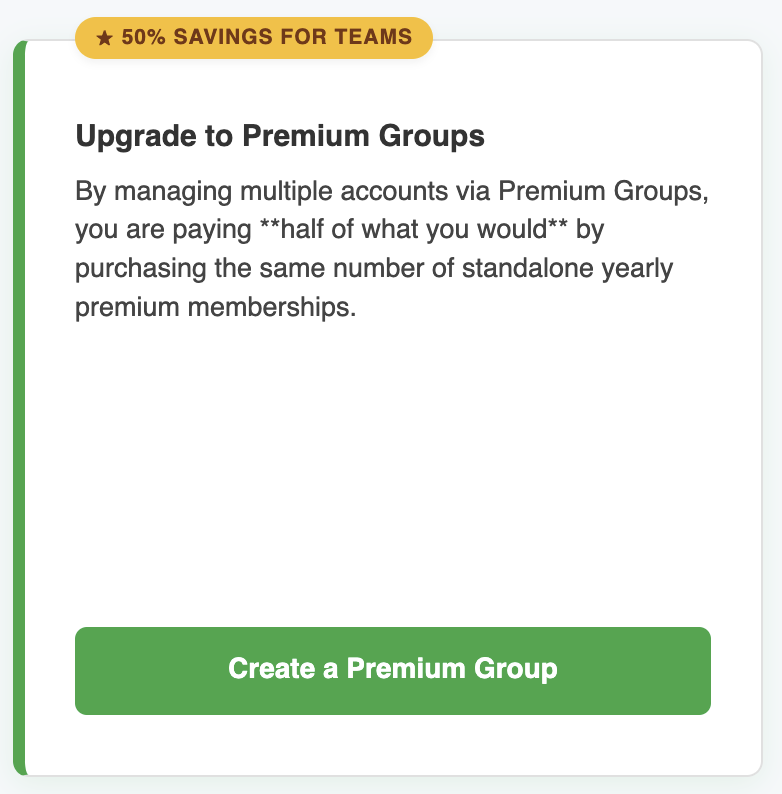
When you load the Premium Groups page, you will see a big green upgrade button. This button will take you to the upgrade form where you will select your membership type and enter your billing information.
Once the Upgrade Form appears, select your Membership Length.
Note: If you already have a standard ClearCheckbook Premium membership, the upgrade costs above will be pro-rated for the first year based on the amount remaining on your current membership.
The next section is your basic Billing Information where you enter your name, billing address and contact information. The billing information must match what your credit card has on file.
After your billing information, enter your card information in the Credit Card Information section.
Finally, read the ClearCheckbook Premium Terms of Use which explains the auto-renewal and refund policy and then agree to those terms before clicking the green Place Order button.
When you submit your order, your billing and credit card information will be sent securely to our PCI compliant credit card processor which will process and store your billing information.
After you've upgraded to Premium Groups, as the group owner you can view the details about your group by going to the Premium Groups page.
The first piece of information you will see is the expiration date and number of group members you have added to your group as well as the maximum allowed group members.

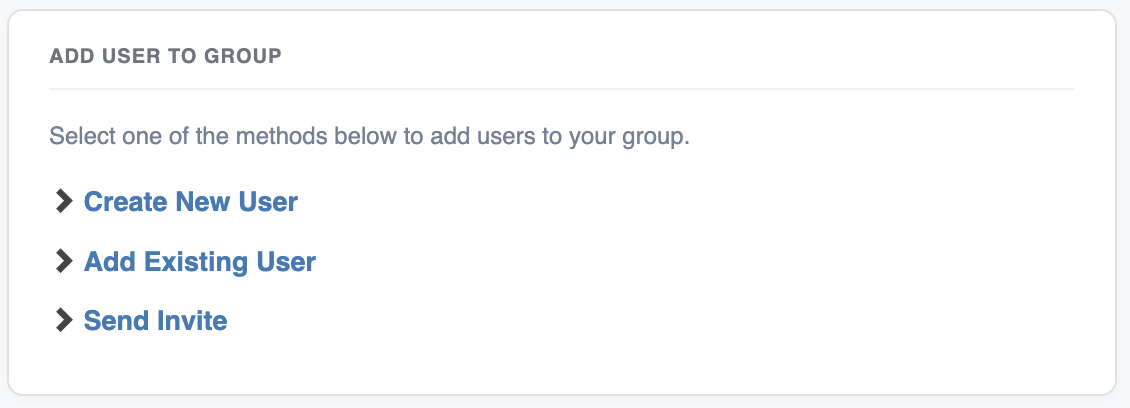
You have three different ways to add members to your group. You can create an entire new login, add an existing ClearCheckbook user if you know their login information, or send a user an invite link.
Once a user is added to your group, you can give them a nickname that can help you better identify them if their username isn't descriptive enough.
| Method | Description |
|---|---|
Create New User |
This option lets you create an entirely new user for ClearCheckbook and add them to your group. |
Add Existing User |
If you know the login details of an existing ClearCheckbook user and want to add them to your group, you can enter their details here. |
Send Invite |
You can send someone a link that will give them the option of joining your group. If they don't already have a ClearCheckbook login, they can create one and then join the group. |
You can create custom accounts so your group members can have those pre-loaded when they access their account. These accounts will replace the default accounts set up by ClearCheckbook. To create custom accounts, click on the Manage Custom Accounts link in the Custom Accounts box.
You can create custom categories so your group members can have those pre-loaded when they access their account. These categories will replace the default categories set up by ClearCheckbook. To create custom accounts, click on the Manage Custom Categories link in the Custom Categories box.
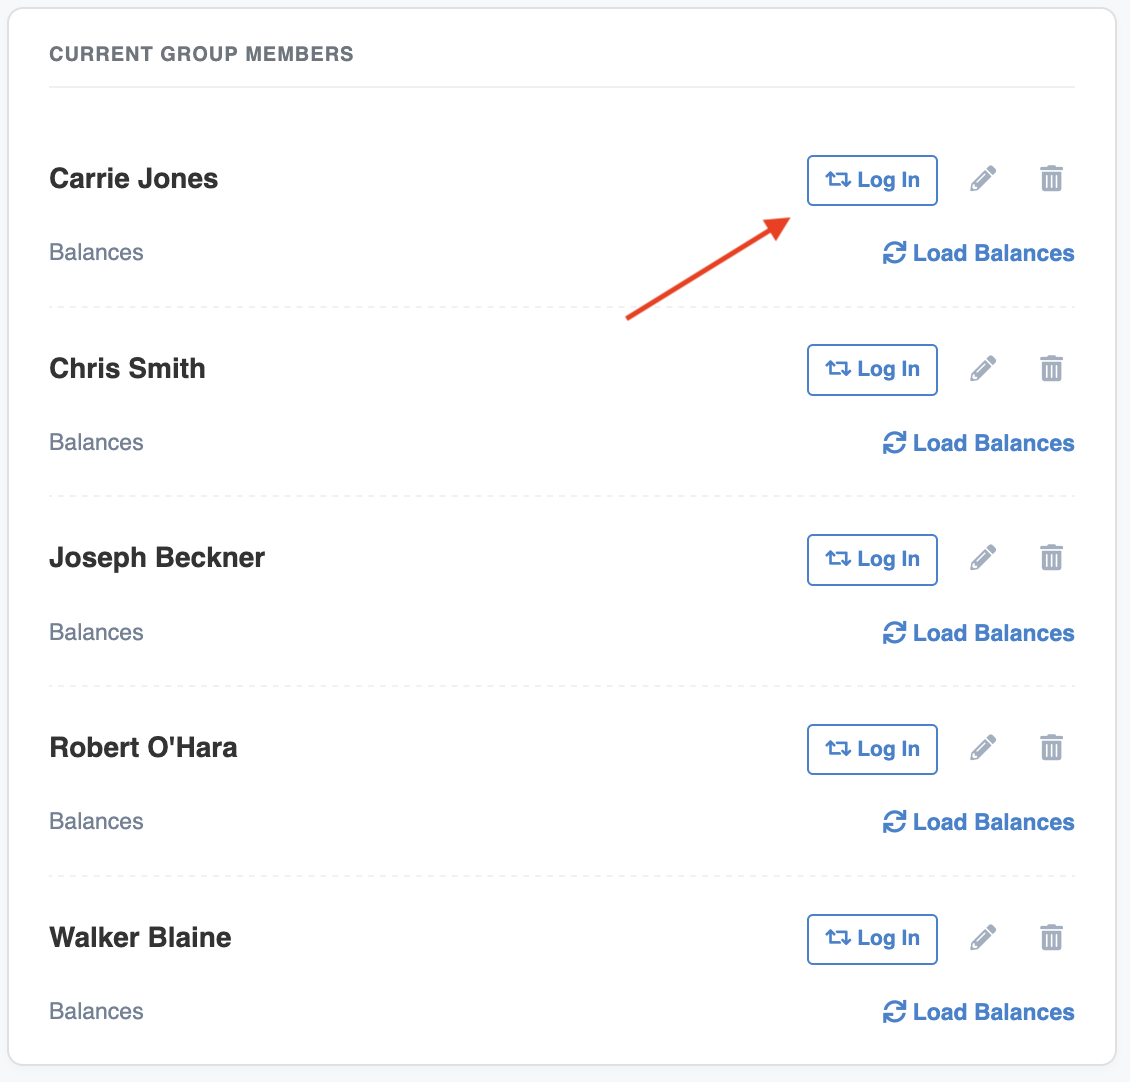
The Current Group Members list shows all of your group members with actions to log into their account, edit their information, remove them from your group or load their account balances.

If you click on the link, an edit form will appear where you can modify their information.
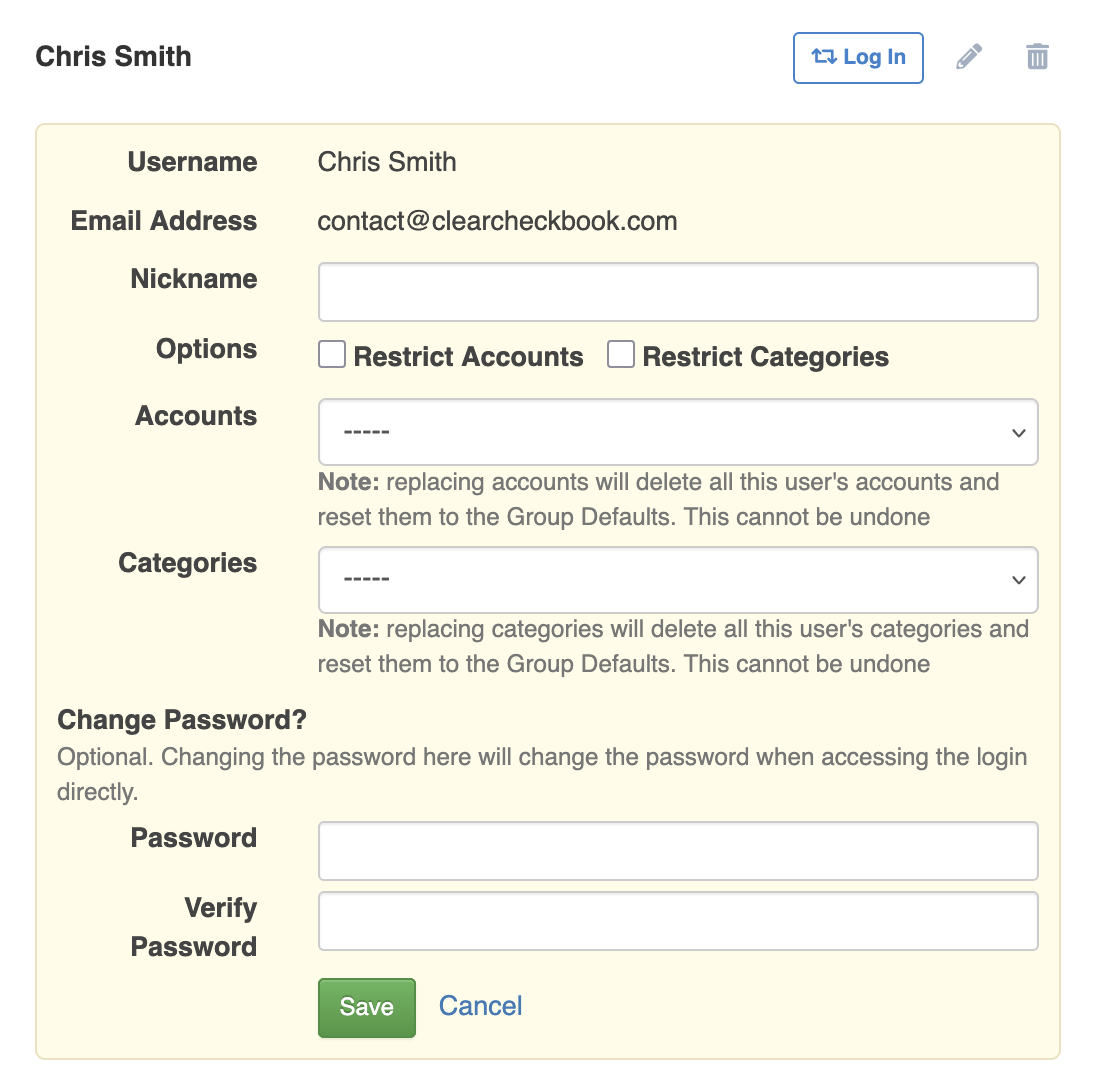
The edit field options are explained in the table below:
| Option | Description |
|---|---|
Nickname |
You can enter an optional nickname for this group member. Only the group owner will be able to see this. |
Options |
The Restrict Accounts and Restrict Categories options, when checked, will restrict the user from creating their own accounts or categories, respectively. |
Accounts |
You can choose to replace their accounts with any custom accounts you created for the group. |
Categories |
You can choose to replace their categories with any custom categories you created for this group. |
Change Password |
You can change the password for this group member's login. If left blank, the password will not change |
The real power of Premium Groups is the ability for the group owner to quickly switch between their own login and the logins of their group members. There are three different ways to do this:
The first way is to click on the Log in link next to their name in the Current Group Members list on the main Settings -> Premium Groups page.
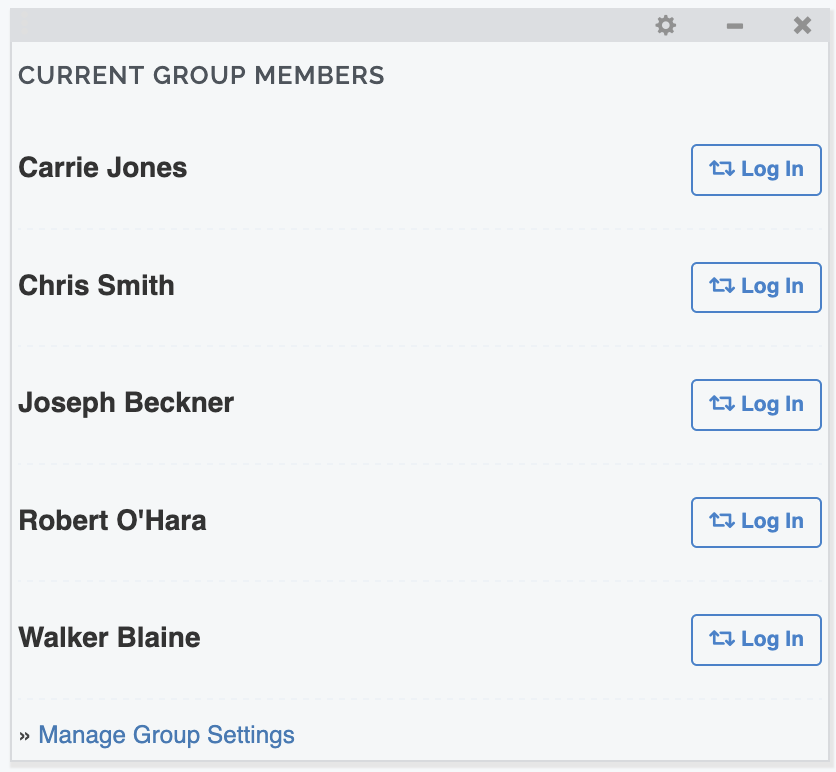
The second way is to enable the Group Members gadget on the Account Dashboard. This will show all of your group members with the same Log in link that you see on the Premium Groups settings page. To install the gadget, click the Add New Gadget link next to the Account Dashboard header. After that, select the Group Members gadget.
The third way is by clicking on your username at the top right side of the page. As a group owner with group members, your username turns into a button that will let you quickly switch to a group member account from anywhere on the site.

Select the group member you want to switch to.

Once you select a group member to switch to from either method shown above, you will be taken to their account where you have full control of everything. You can switch back to the group owner login at any time by clicking the Switch Users link at the top of the page, to the right of the group member's username.
